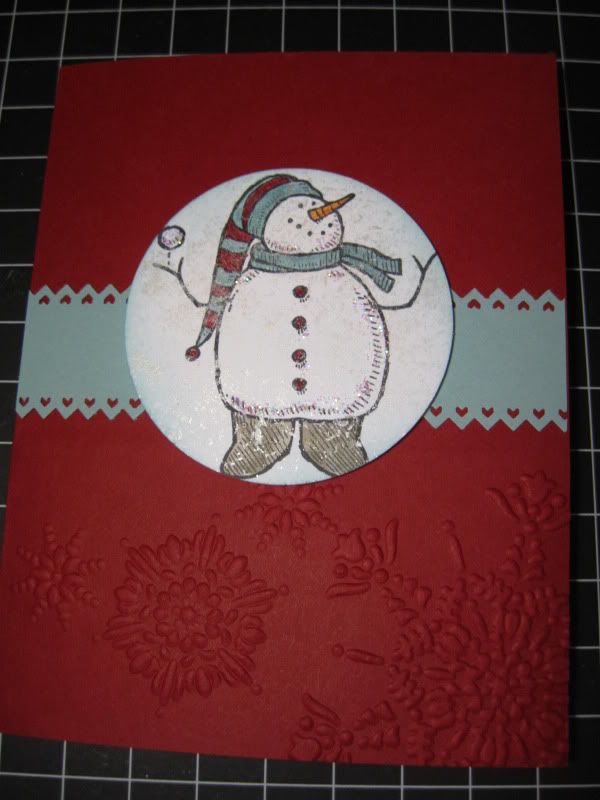
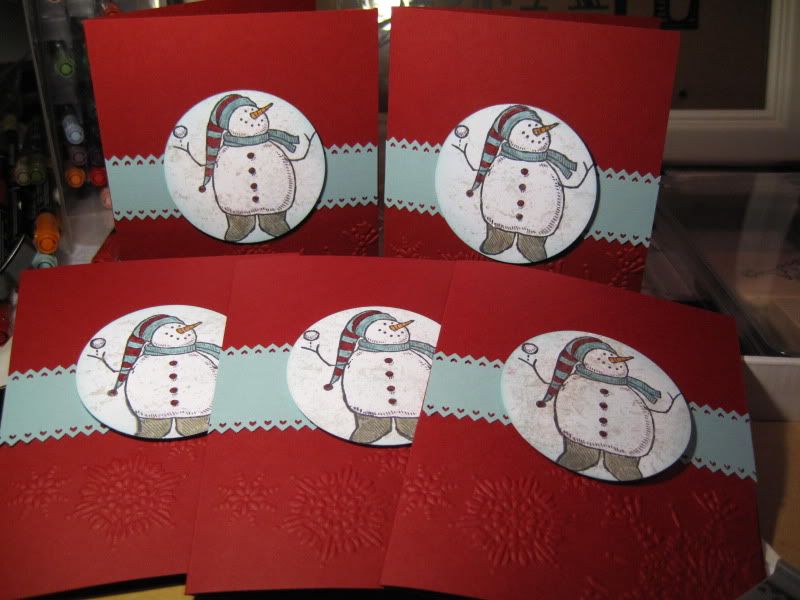
I just realized I had a bunch of projects to share from a recent class and Stamp Club I attended this past month, so I thought I would share!
Here's the 3 projects we did at
Allison's Stamp Club this past month....
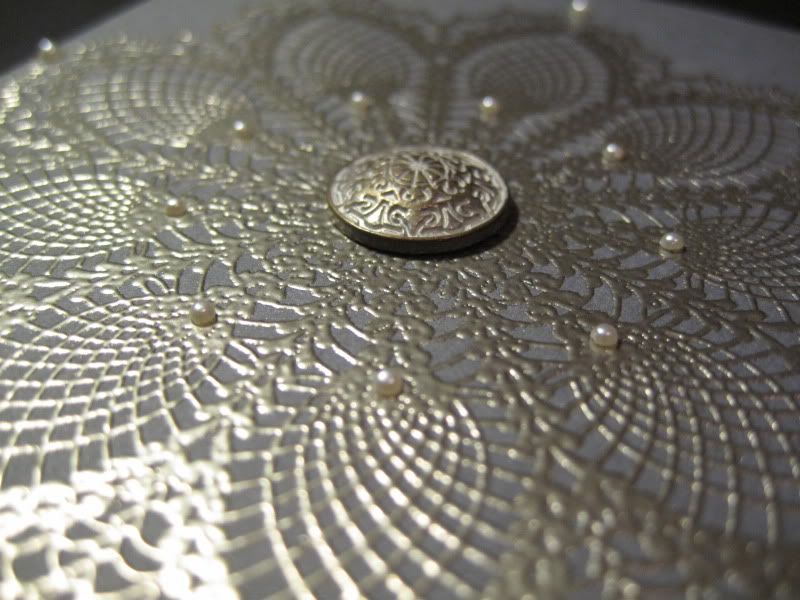
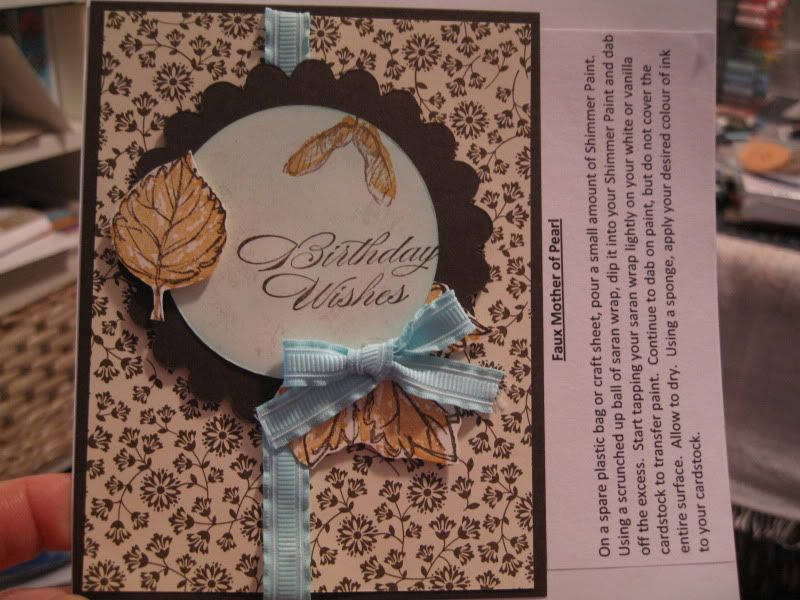
Our technique was Faux Mother of Pearl. It's a super simple way to add some beautiful detail to any project.
I will probably do a tutorial on it later on...
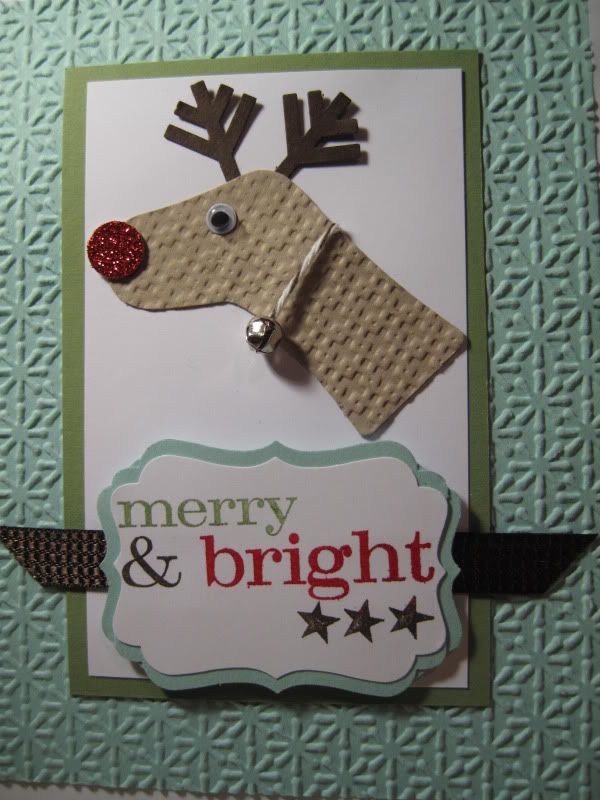
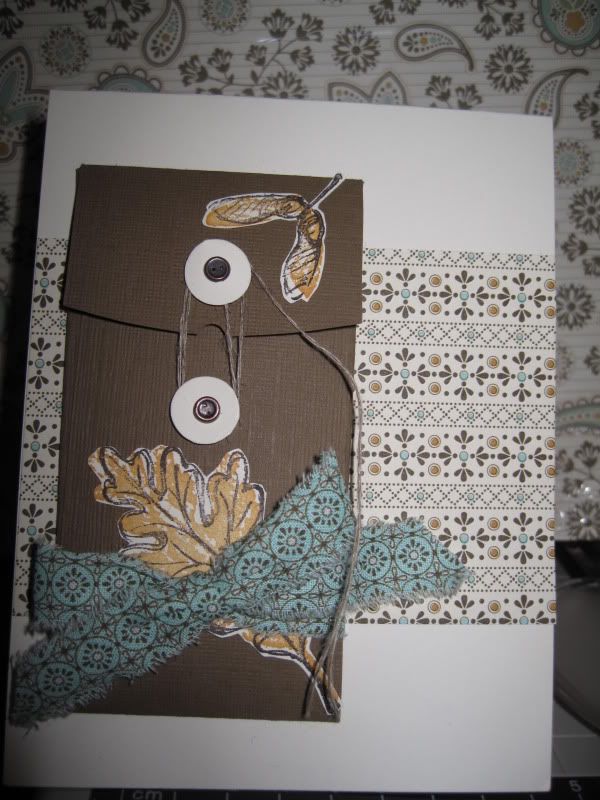
Our next card was a super cute one using the new Petite Pocket Die....
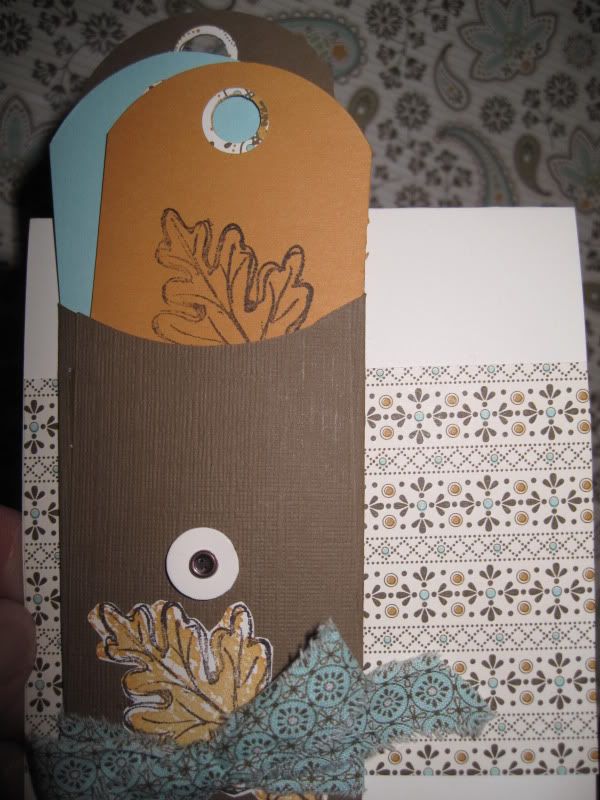
Open up the envelope and there's a surprise inside!
3 little tags!
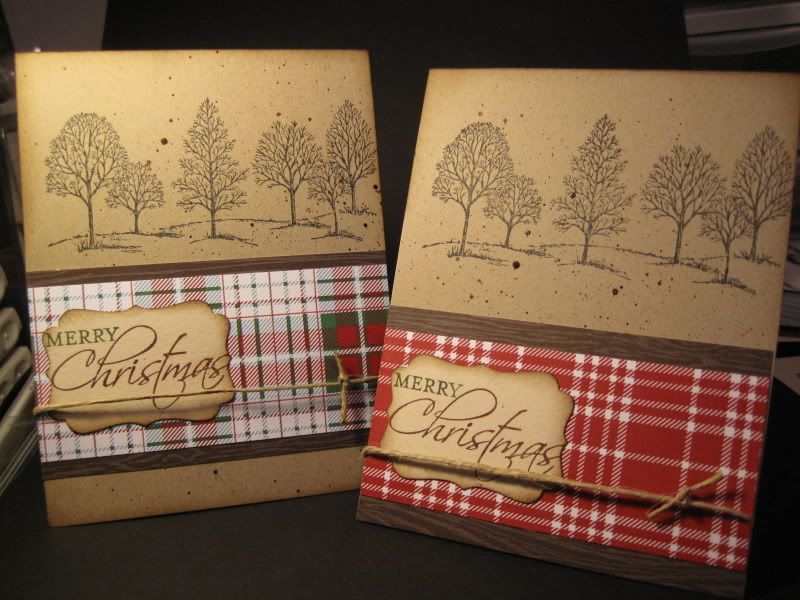
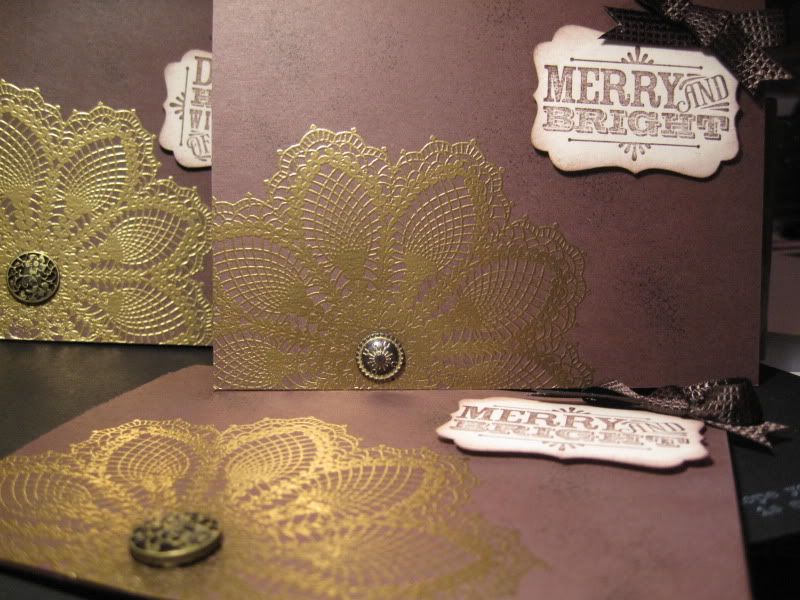
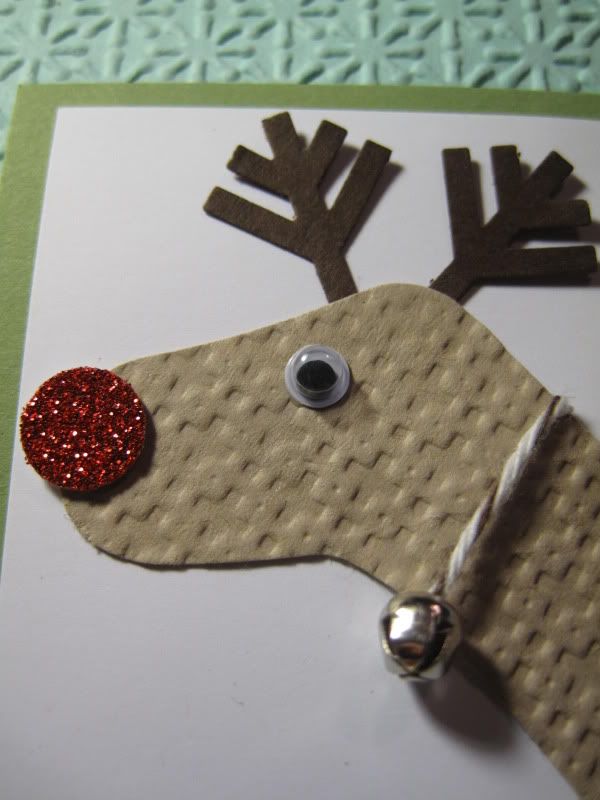
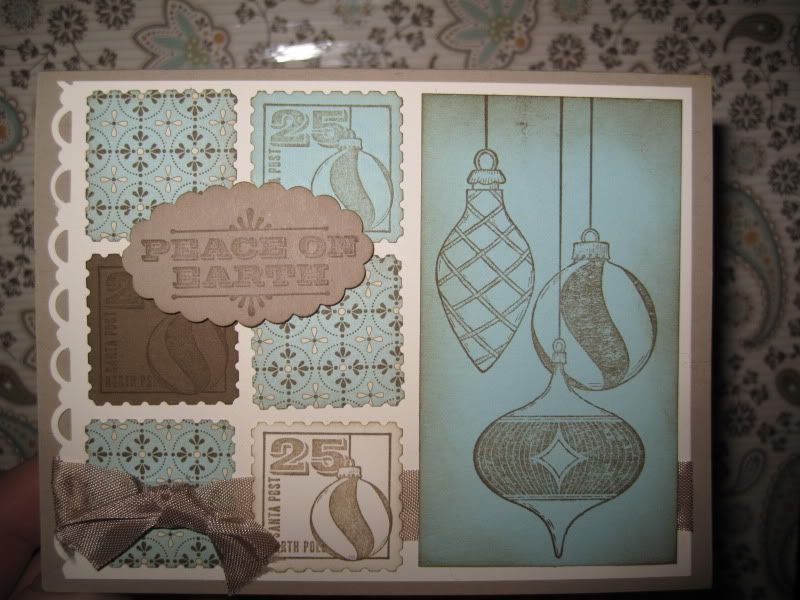
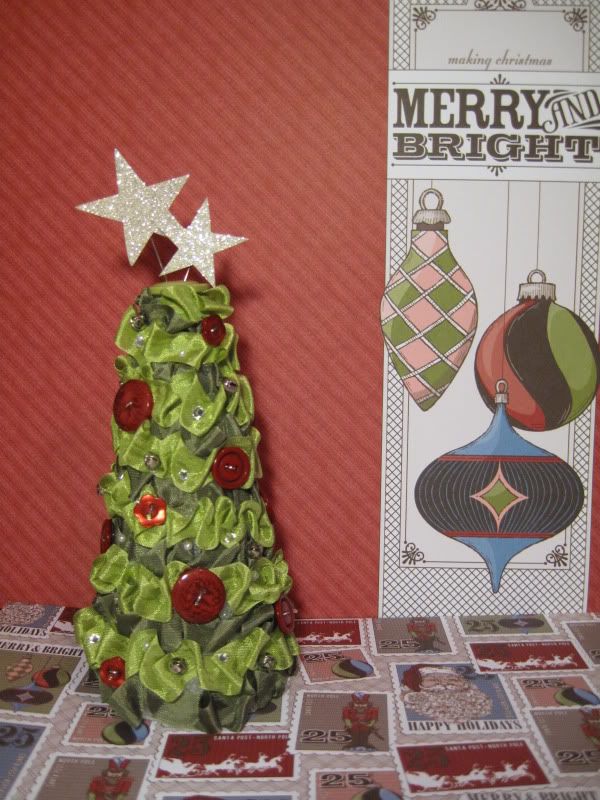
The last card was a Christmas one using the Postage Stamp Punch and Merry & Type stamp set...
All 3 projects featured the Spice Cake Designer Series Paper, and Fabric....so pretty!
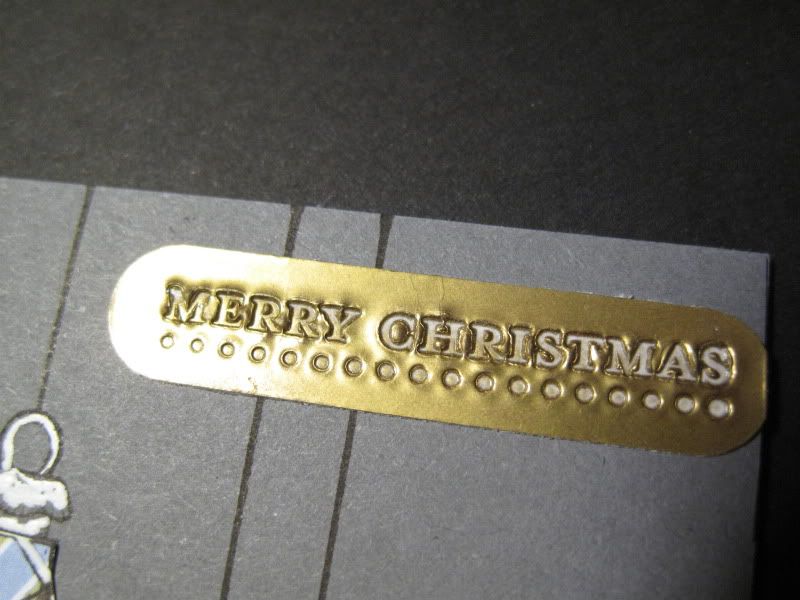
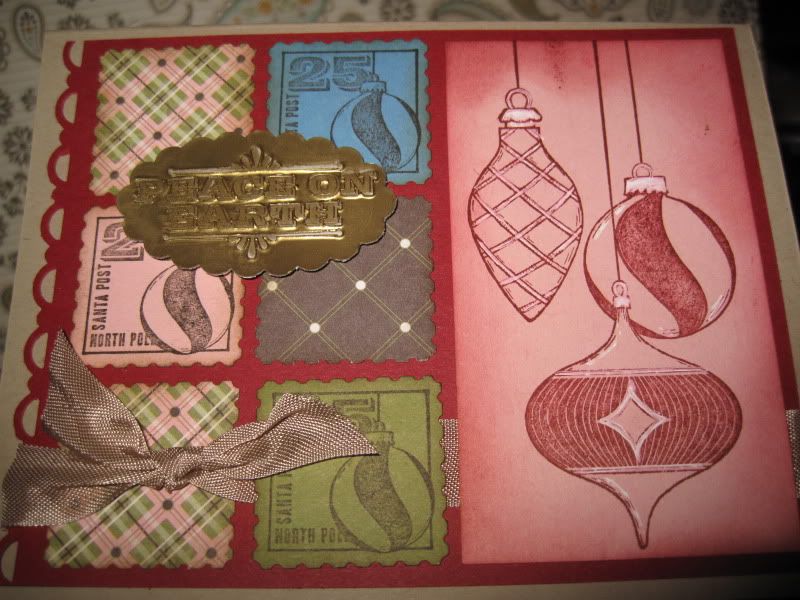
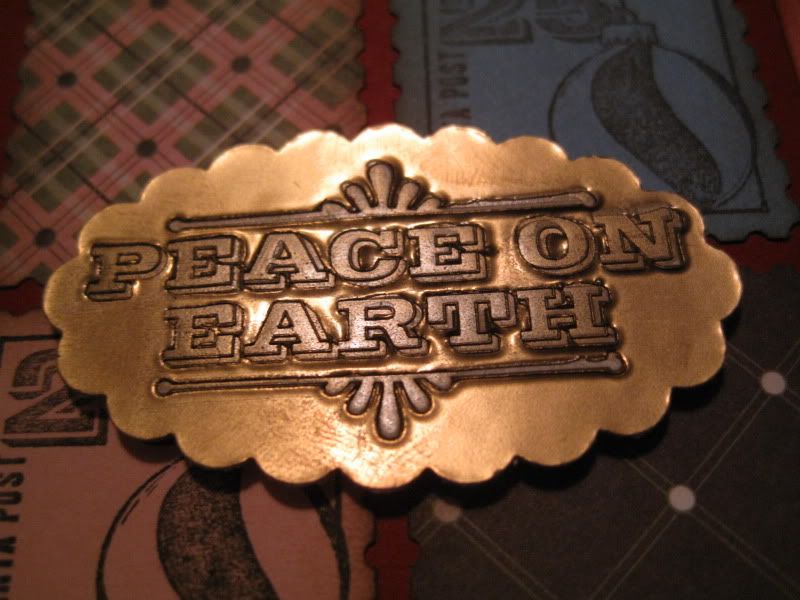
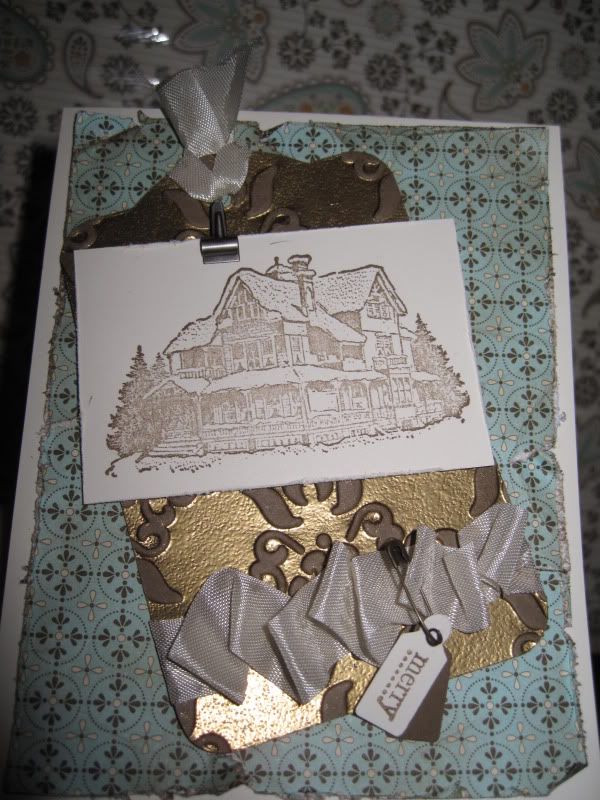
I also have 3 more cards to share from an Embossing class I took last week....First card is a replica of the christmas one I just showed you, but different colours and the Faux Metal technique.
I just love the look of this Faux metal.....so cool!
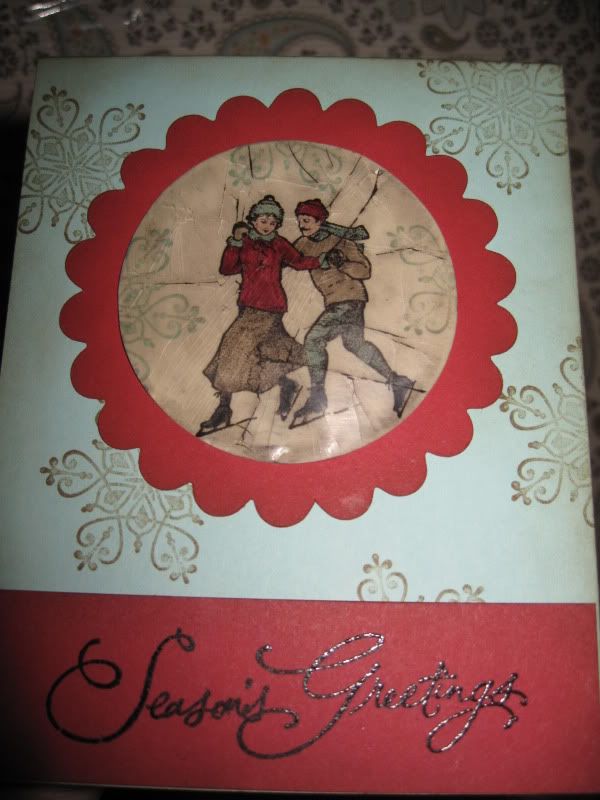
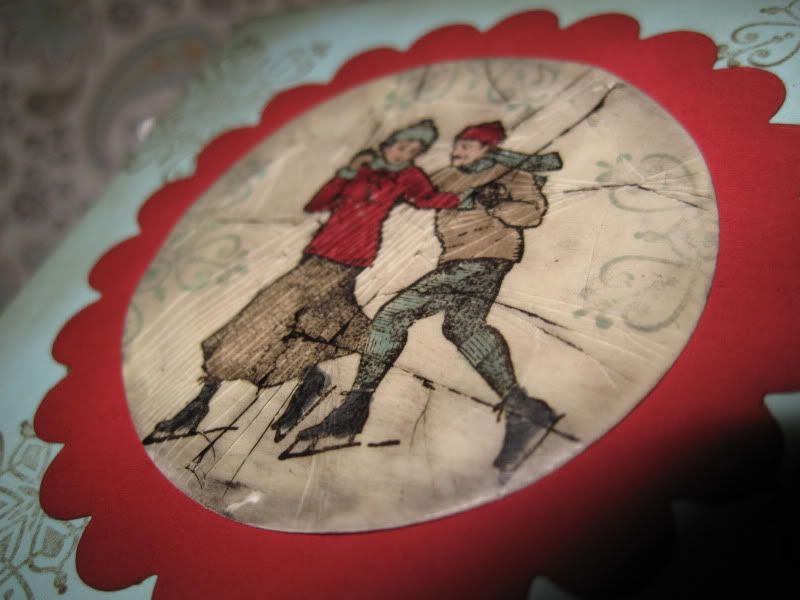
Next was the Cracked Glass technique....very neat!
And the last is the Double Embossing Technique....
I really like the look of this one!
Excellent cards Allison, thanks for teaching us!