Friday, November 18, 2011

Vintage Monogram Decor

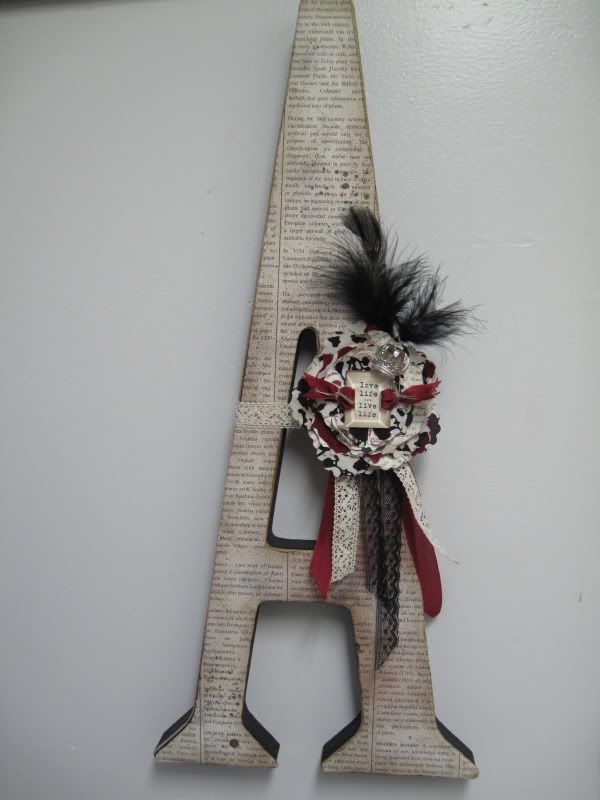
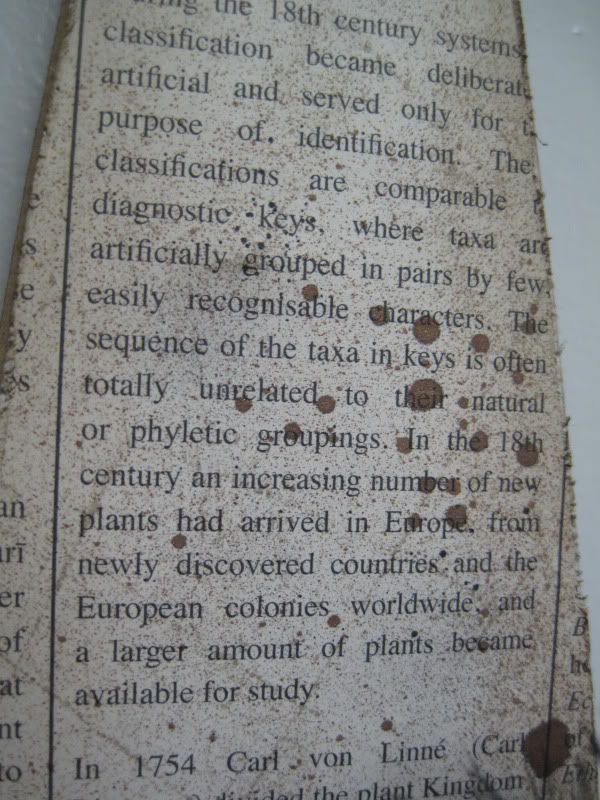
This is the 2nd part of my gift for my friend Allison, check yesterday's post if you missed the first monogram gift. This is a pretty large wooden 'A' I found a Winners. It's painted black and has sanded edges, so I thought I would add my personal touch by gluing the First Edition DSP on the front.Then to give it a vintage look I roughed up the edges, sponged with Soft Suede ink,  and spritzed some Log Cabin Smooch Spritz.

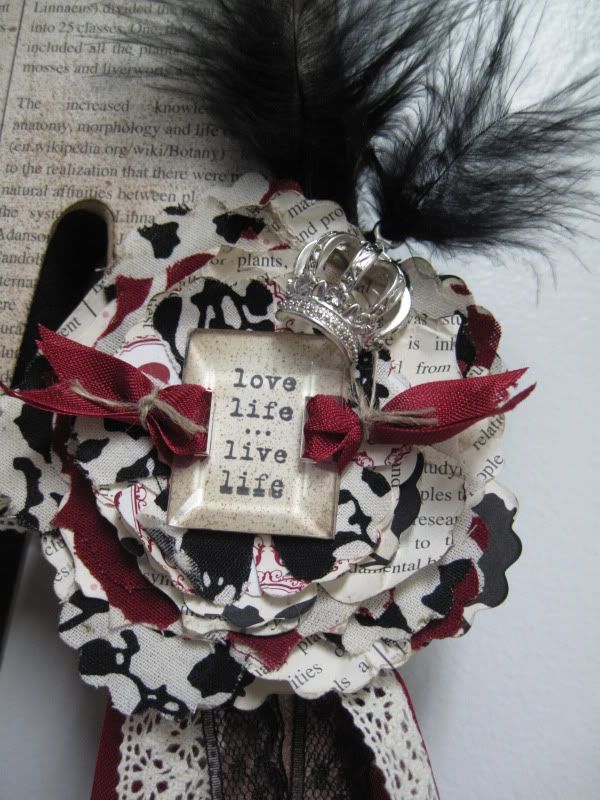
 I then made a flower with the Timeless Portrait Designer Fabric and Paper by cutting it out with the Fun Flowers Die on the Big Shot. I used one of the  Beveled Windowpanes and stamped the 'love life, live life' sentiment from the You're A Gem stamp set to go behind it. Other embellies include Cherry Cobbler Seam Binding ribbon, Victoria Crochet Trim, Raven Lace Trim, Trinket Crowns, Linen Thread and some black feathers.
Now I need to make myself one of these!

Thursday, November 17, 2011

Spice Cake Monogram Decor


So as you probably noticed, I am a huge fan of making monogrammed decor... so here's part 1 of the birthday gift I made for my friend Allison. She LOVES the Spice Cake line, so I used the Designer series paper, Fabric and Button! This is a wooden 'A' you can find at any craft store. I traced it onto the designer paper then cut it out and glued it onto the wood, did a little sponging around the edges too. The little 'friends' tag is from Tiny Tags stamp set and punched out with the Jewlery Tag punch, pinned on with a Vintage Trinket safety pin.

Check back tomorrow for part 2 of her gift!
I wanted to keep it myself! But 'A' isn't my initial...LOL

Wednesday, November 16, 2011

Spice Cake Birthday Card


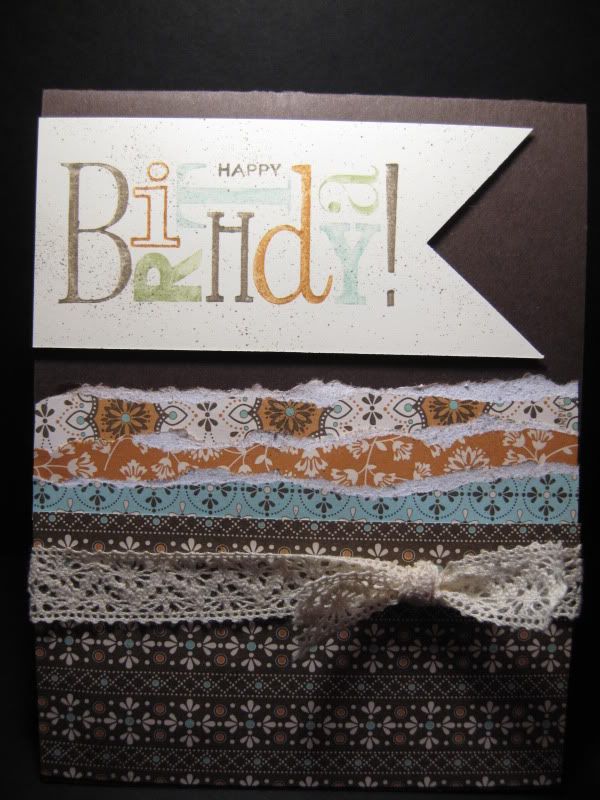
This is a birthday card for my friend Allison. We finally got together yesterday for her birthday, and enjoyed a nice afternoon having lunch and shopping! I couldn't wait to give her gift to her! I will show part one of it tomorrow...it ties into this card with the Spice Cake Designer Paper.
The stamp is from Happiest Birthday Wishes (a hostess set) My new fave tool is the Colour Spritzer  if you look closely you can see little Soft Suede speckles on the sentiment. This tool is amazing!

Thanks for stopping by! Come back tomorrow and Friday for the rest of her gift!

Monday, November 14, 2011

Altered Compostion Book - Vintage Snowman


I'm in the process of making a bunch of altered notebooks for Christmas gifts, so I thought I'd share this one with you all! I'm really loving this Snow Much Fun stamp set! Here I stamped the image onto Crumb Cake cardstock, then highlighted areas with the white gel pen, and added some Basic Pearls for his buttons. The background paper is from Letters To Santa DSP, as well as the scallop circle behind the snowman. I embossed it with the Vintage Wallpaper embossing folder on the Big Shot and then used the Sanding blocks to rough it up a bit. Also added some Chantilly Crochet Trim too!


We got a bit of snow today, not too much yet! Only a matter of time!! I just realized this is the start of my 5th winter in Calgary! Can't believe I've made it this long! LOL

Sunday, November 13, 2011

MORE Snow Much Fun!

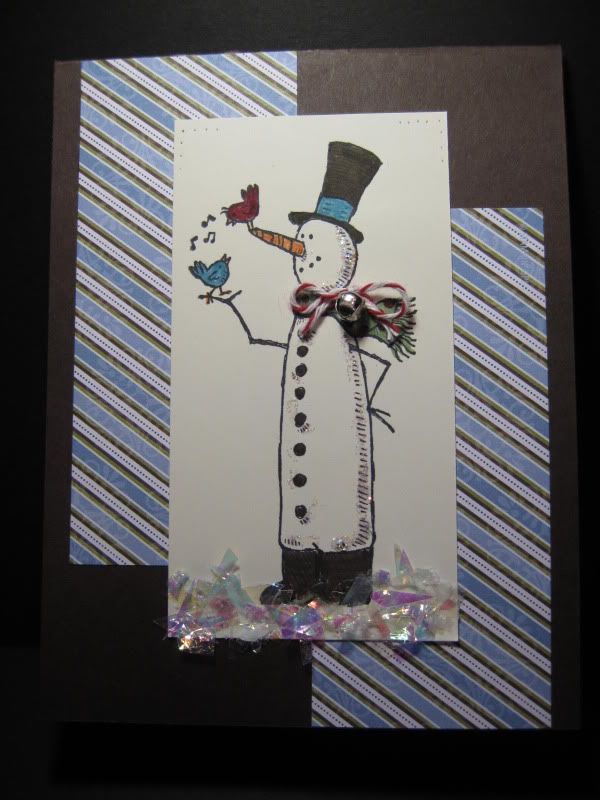
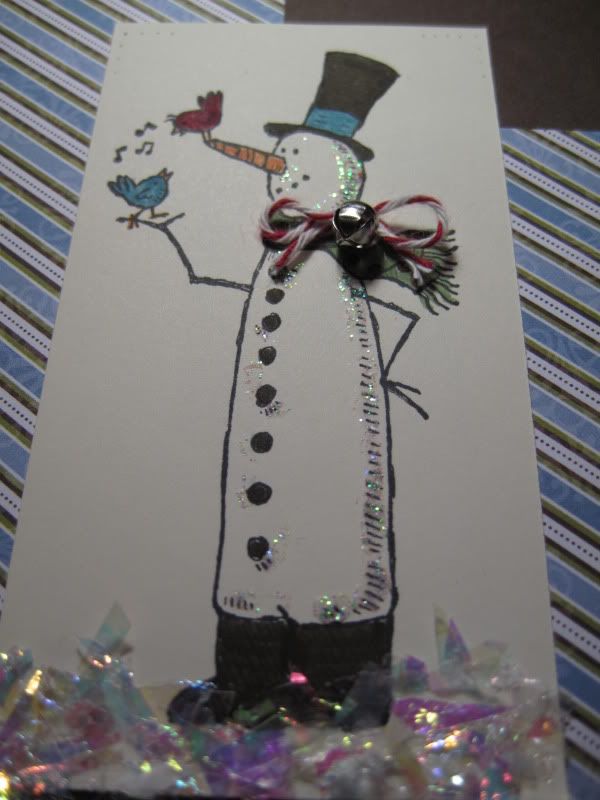
Here's  another card using the Snow Much Fun stamp set. I like this guy with the little birds, so cute! The base of the card is Early Espresso, with 2 strips of Letters To Santa DSP. The extra little details include Mica Flakes, Cherry Cobbler Bakers Twine, and the adorable Mini Jingle Bells! And don't forget Dazzling Details, I'm seriously obsessed with this!  Just got 2 more bottles, incase they aren't coming back after the Holiday Mini is done!
Have a great weekend!!!

Saturday, November 12, 2011

Snow Much Fun!

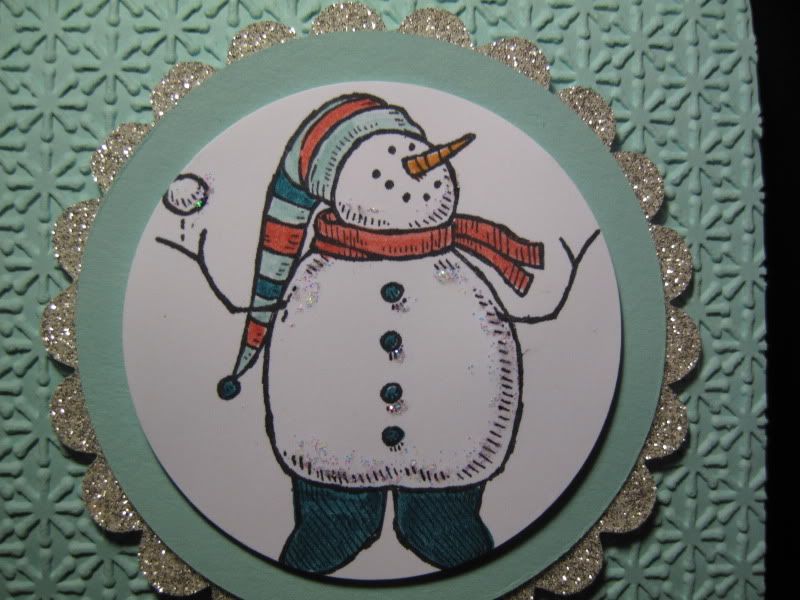
This was my first chance to break into my new stamp set called Snow Much Fun, and I adore this set! I've always had a thing for snowmen, probably cause my mom covered the house with them in the winter! I love these images because they can be used with bright colours, or neutrals for a more vintage country feel.
I had to use one of my new fave In colours, Pool Party. Even though the name isn't very wintery, it has a cool icy look to it, which matches nicely with the Silver Glimmer Paper. I embossed the base of the card with the new Snow Burst embossing folder from the Holiday Mini Catalogue.

Colour in the stamped image with some Stampin' Write Markers, add a little sparkle with Dazzling Details, and you got a quick and simple Christmas card ready to go!
Be back tomorrow with another card using a different snowman stamp from this set....
Thanks for stopping by!

Friday, November 11, 2011

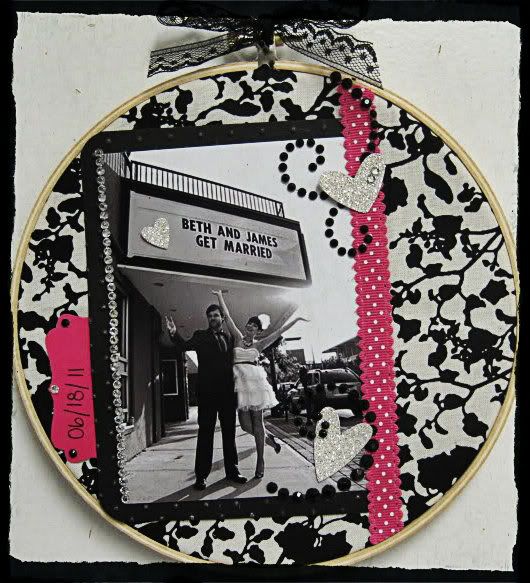
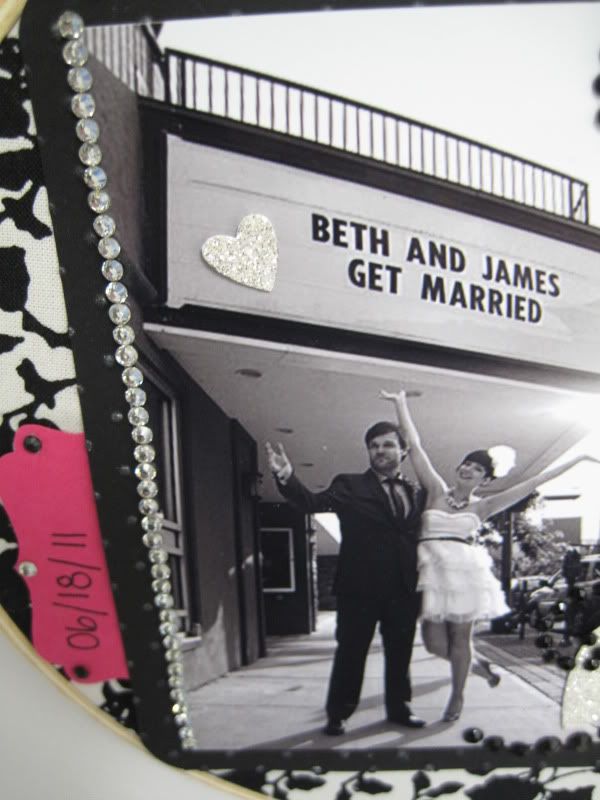
Wedding Embroidery Frame


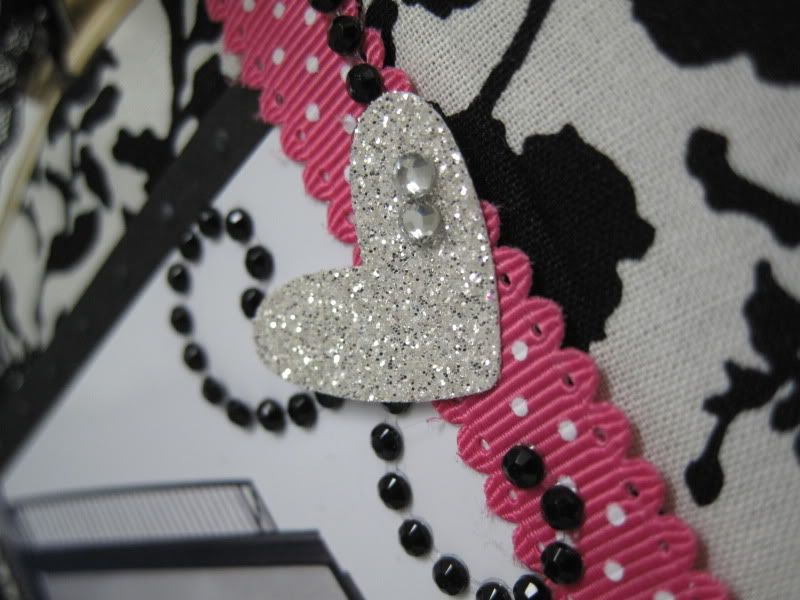
This is an embroidery frame I did with my cousin Bethany's wedding photo. I love this photo of their names on the marquis! I tried to tie in her wedding colour...Hot Pink, as well as some glitz and glam with the Basic Rhinestones and Silver Glimmer Paper. She had THE best shoes ever, sparkly pink high heels!
 
 The base is from the Timeless Portrait Designer Fabric, and ribbon is Melon Mambo Polka Dot scallop. 
I've been accomplishing alot of gift items...so much to share, but have to wait til I give them away, so not to spoil the surprise!   Stay tuned!

Thursday, November 10, 2011

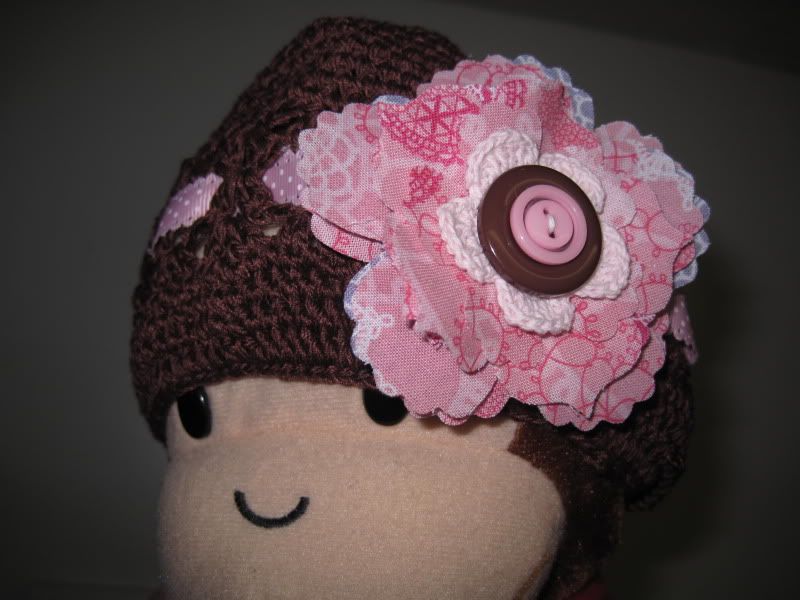
Baby Hat with Flirtatious Designer Fabric


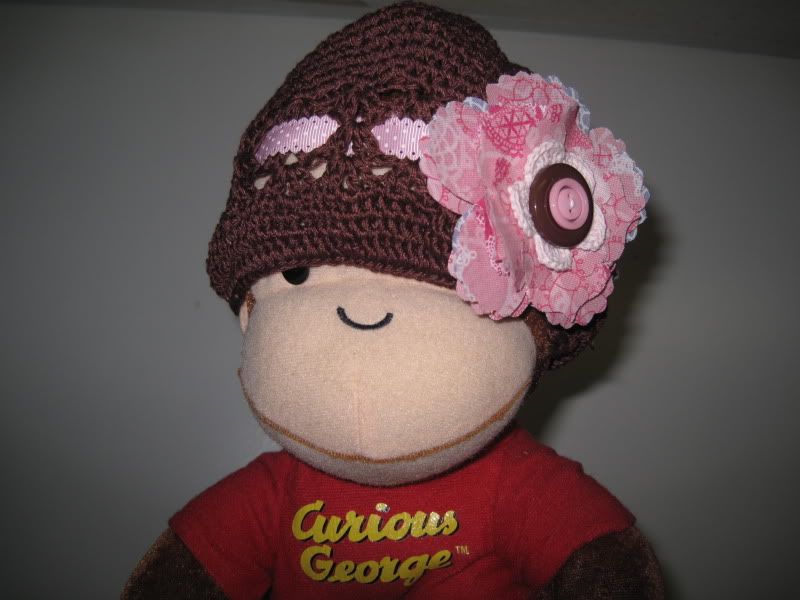
I designed this adorable baby hat for a co-worker who's expecting a baby girl this February. I'm so excited she's asked me to make her baby shower invitations too!  I bought the brown crochet hat from a local company called Little Hoot, hopefully sometime I'll learn how to crochet a hat! So far I've given up on a scarf, it's now a braclet..LOL  
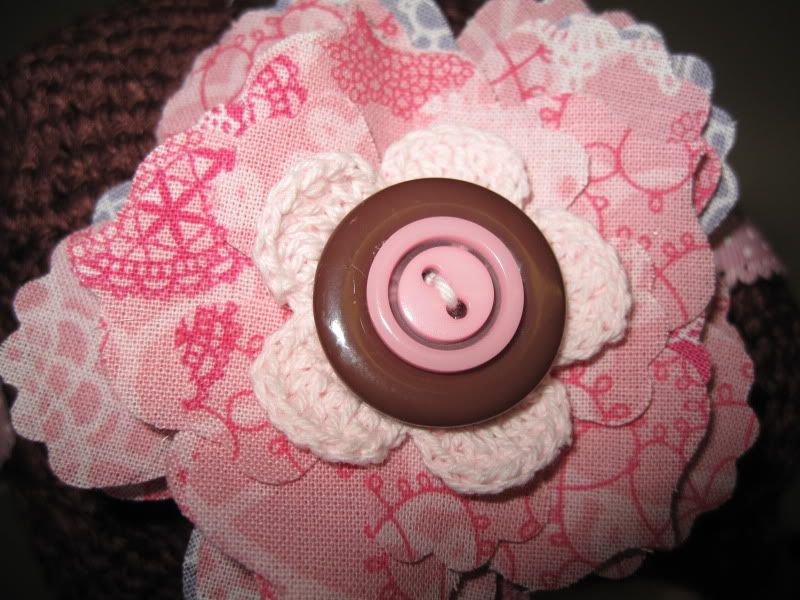
The flower is made up of layers of the Flirtatious Designer Fabric cut with the Fun Flowers Die on the Big Shot, a little crochet flower and 2 buttons.


 I also strung through some Pretty in Pink Polka dot scallop ribbon around the crown of the hat.

Curious George was happy enough to model my hat for you all! Enjoy!

Friday, November 4, 2011

Spice Cake Cookie Cutter ornament

 Happy Friday!
Well even though we got our first snowfall here in Calgary this morning, I'm still not ready for winter. So I made this fall inspired cookie cutter ornament to make myself feel better. LOL 
This matches with the Spice Cake Fabric Wreath I made last week. If you didn't see that post, click HERE.

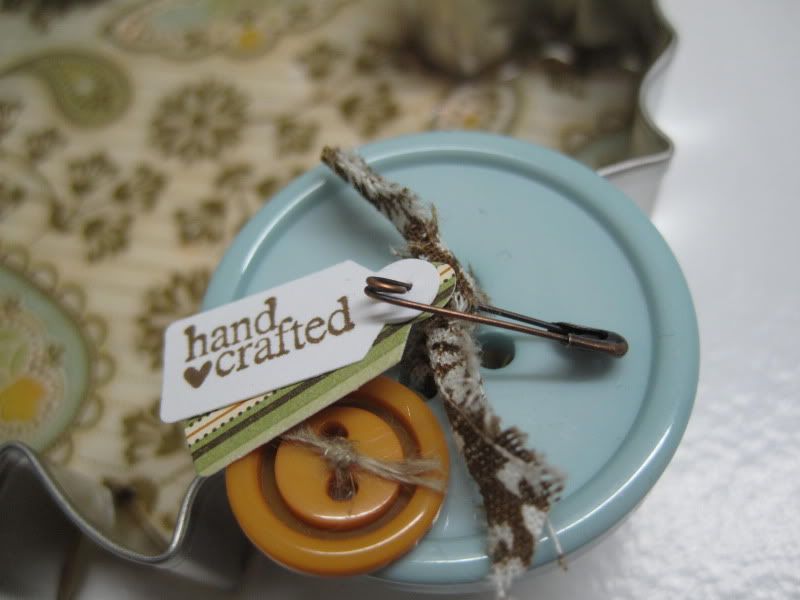
I used alot of Crystal Effects to adhere the metal cookie cutter to the Spice Cake DSP, then spread it all over to create a nice shine. You have to let this dry for 24 hrs!!  I added some ripped pieces of Designer Fabric  on the Linen Thread, and embellished with a Big Button in Pool Party, and a cute little tag pinned with a Vintage Trinket safety pin. The 'hand crafted' sentiment is from Tiny Tags stamp set.


Hope you enjoy!
Have a great weekend everyone!

Wednesday, November 2, 2011

Lots of Projects to share!

 I just realized I had a bunch of projects to share from a recent class and Stamp Club I attended this past month, so I thought I would share!

Here's the 3 projects we did at Allison's Stamp Club this past month....
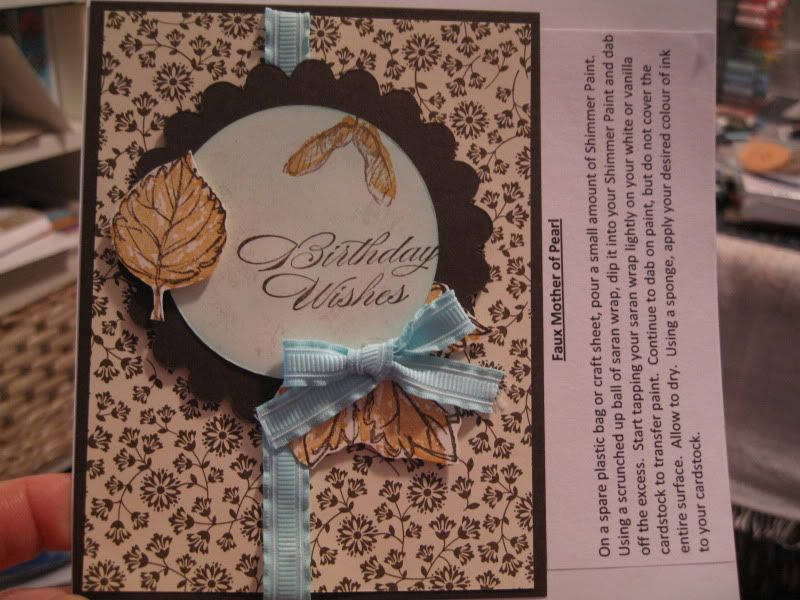
Our technique was Faux Mother of Pearl. It's a super simple way to add some beautiful detail to any project.
I will probably do a tutorial on it later on...


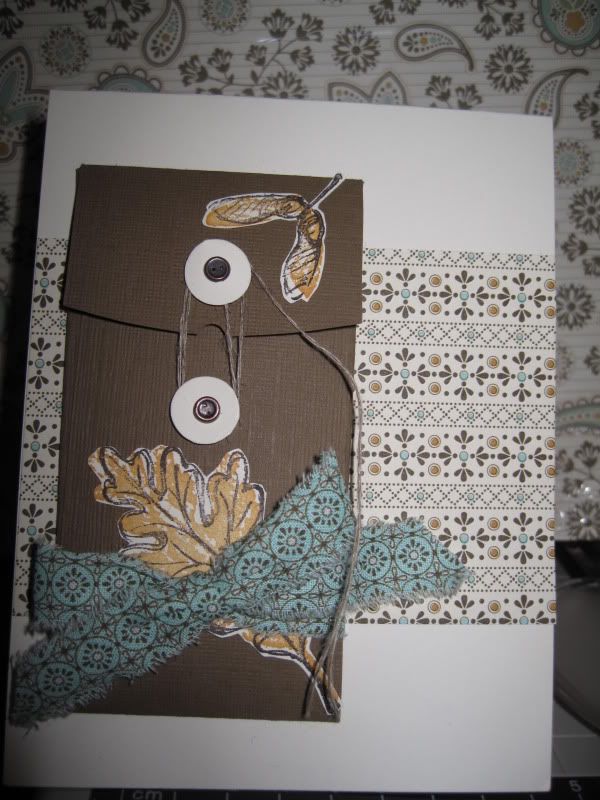
Our next card was a super cute one using the new Petite Pocket Die....

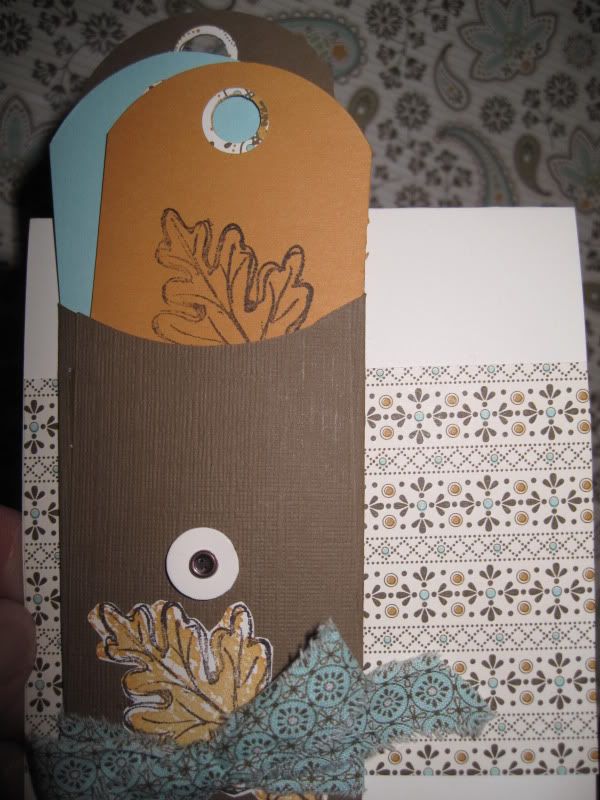
Open up the envelope and there's a surprise inside!

 3 little tags!
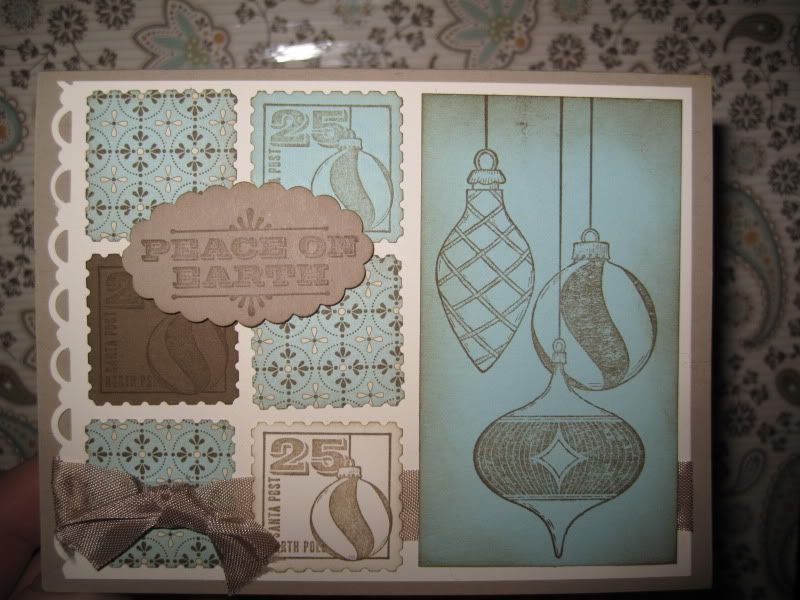
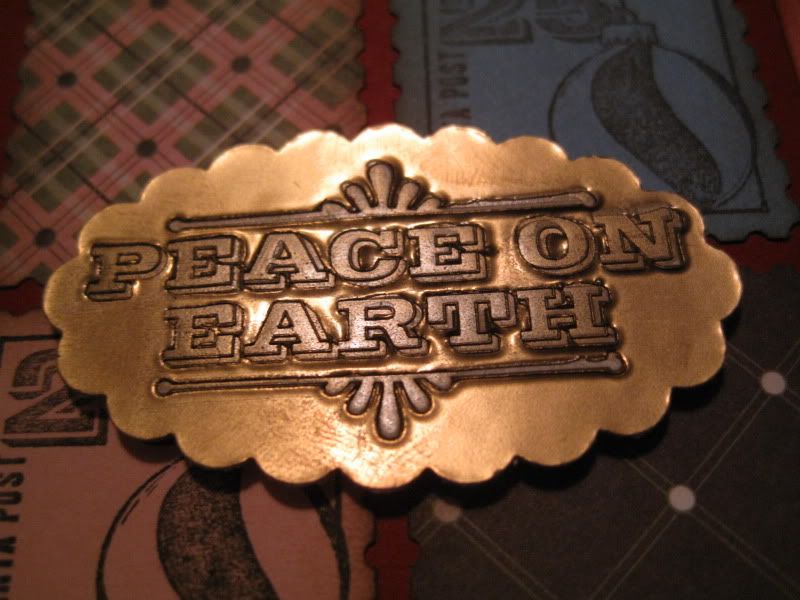
The last card was a Christmas one using the Postage Stamp Punch and Merry & Type stamp set...


All 3 projects featured the Spice Cake Designer Series Paper, and Fabric....so pretty!

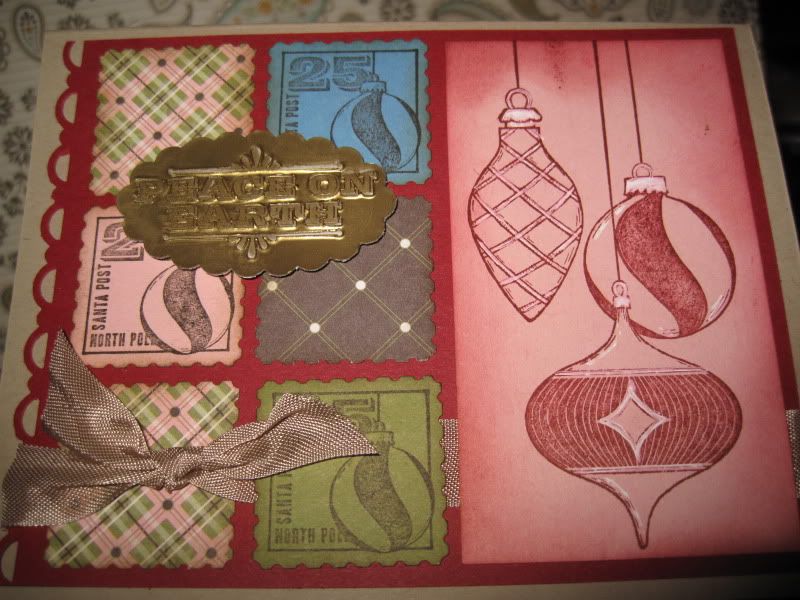
I also have 3 more cards to share from an Embossing class I took last week....First card is a replica of the christmas one I just showed you, but different colours and the Faux Metal technique.


I just love the look of this Faux metal.....so cool!


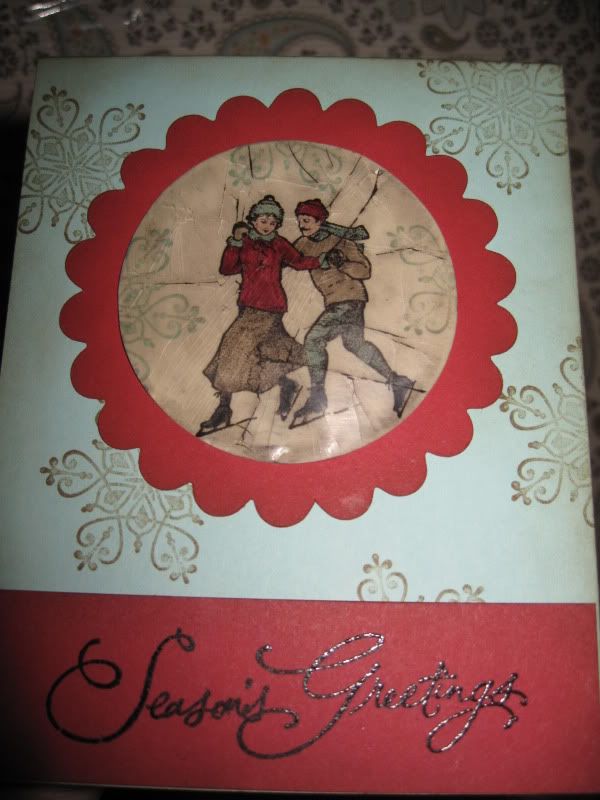
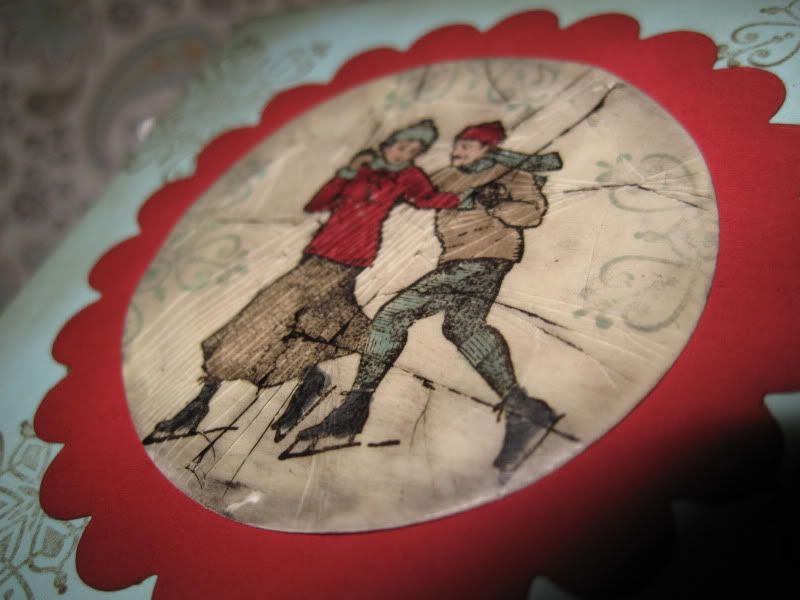
Next was the Cracked Glass technique....very neat!


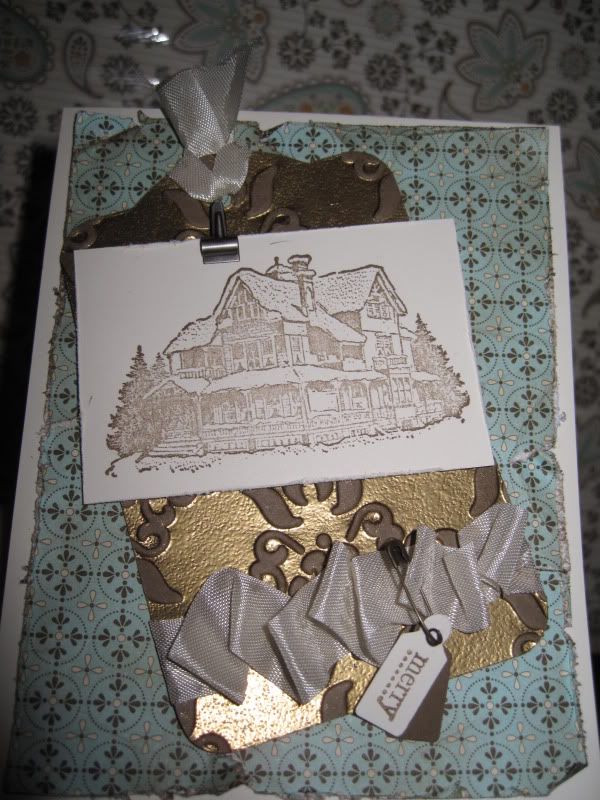
 And the last is the Double Embossing Technique....

I really like the look of this one!

Excellent cards Allison, thanks for teaching us!

LinkWithin

Related Posts with Thumbnails